
Getting Started with Flyway
Flyway is an open-source database migration tool that helps version control for your database schema. It supports multiple database systems, including PostgreSQL, which we’ll be using in this example.
Adding Flyway to Your Micronaut Project
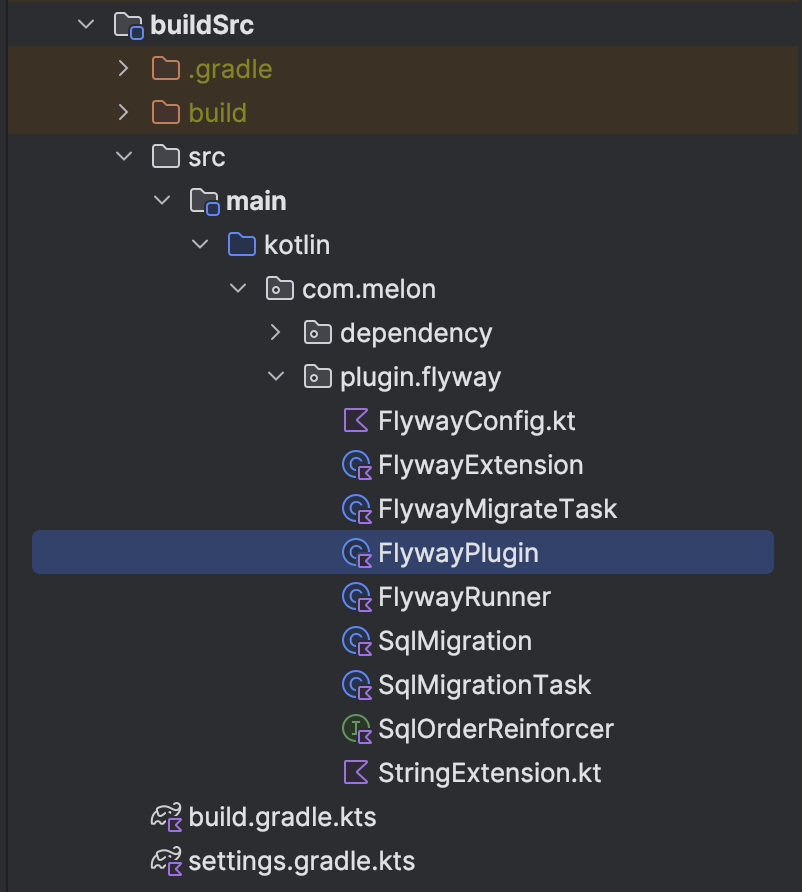
Micronaut allows you to create custom beans and plugins easily. We’ll create a Flyway plugin to encapsulate Flyway’s configuration. Adding the Flyway Plugin to your Micronaut project by creating FlywayPlugin class inside buildSrc/src/main/kotlin/com/melon/plugin/flyway/.
The FlywayPlugin class has a function like the one below:
|
|
Note: Because of security, I can’t provide the details of the Flyway Plugin. You need to do it yourself, or you can Google a bit.
Adding FlywayPlugin to the build.gradle.kts file
Now add configuration to build.gradle.kts file inside buildSrc as shown below:
|
|
Let’s sync Gradle again!
Organizing SQL Migration Scripts
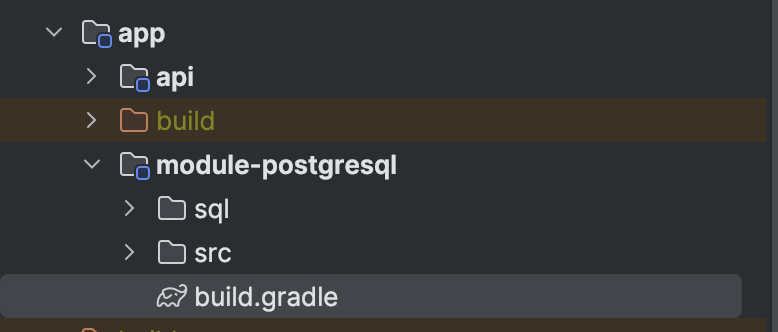
Next, create a sql folder in the app/module-postgresql/ directory of your Micronaut project. This folder will contain all the SQL scripts needed for migration.
Configuring via flyway.conf
In my FlywayPlugin, I will get database’s information via the flyway.conf file. So that, I need to create a new flyway.conf file inside the sql folder. The benefit of using flyway.conf is that it separates configuration from code, making it easier to manage.
|
|
The database’s name is local and the credentials are also local as well (Refer to the integrating PostgreSQL database for more details).
Configuring TABLEs
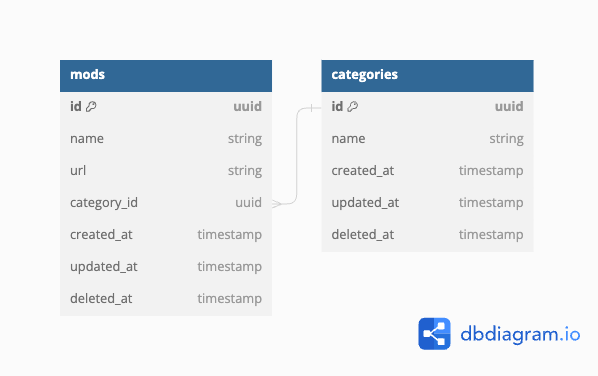
For example, I want to create 2 tables: mods and categories. You can see the below image for details:
Creating the 001-mod.sql file inside app/module-postgresql/sql/ and adding some SQL script as shown below:
|
|
Creating the 002-category.sql file inside app/module-postgresql/sql/ and adding some SQL script as shown below:
|
|
Flyway follows a naming convention for its migration scripts: {index}-{description}.sql. The {index} is a unique index for the migration, and {description} is a description of the migration.
Running Migrations
With everything set up, you can now run your Micronaut application, and Flyway will automatically detect and apply the database migrations during startup. This makes it convenient to evolve your database schema as your application evolves.
To run your Micronaut application, don’t forget to execute Docker Compose before using the following command:
|
|
Flyway will log the details of each migration, allowing you to monitor the process and ensure that your database is up to date.
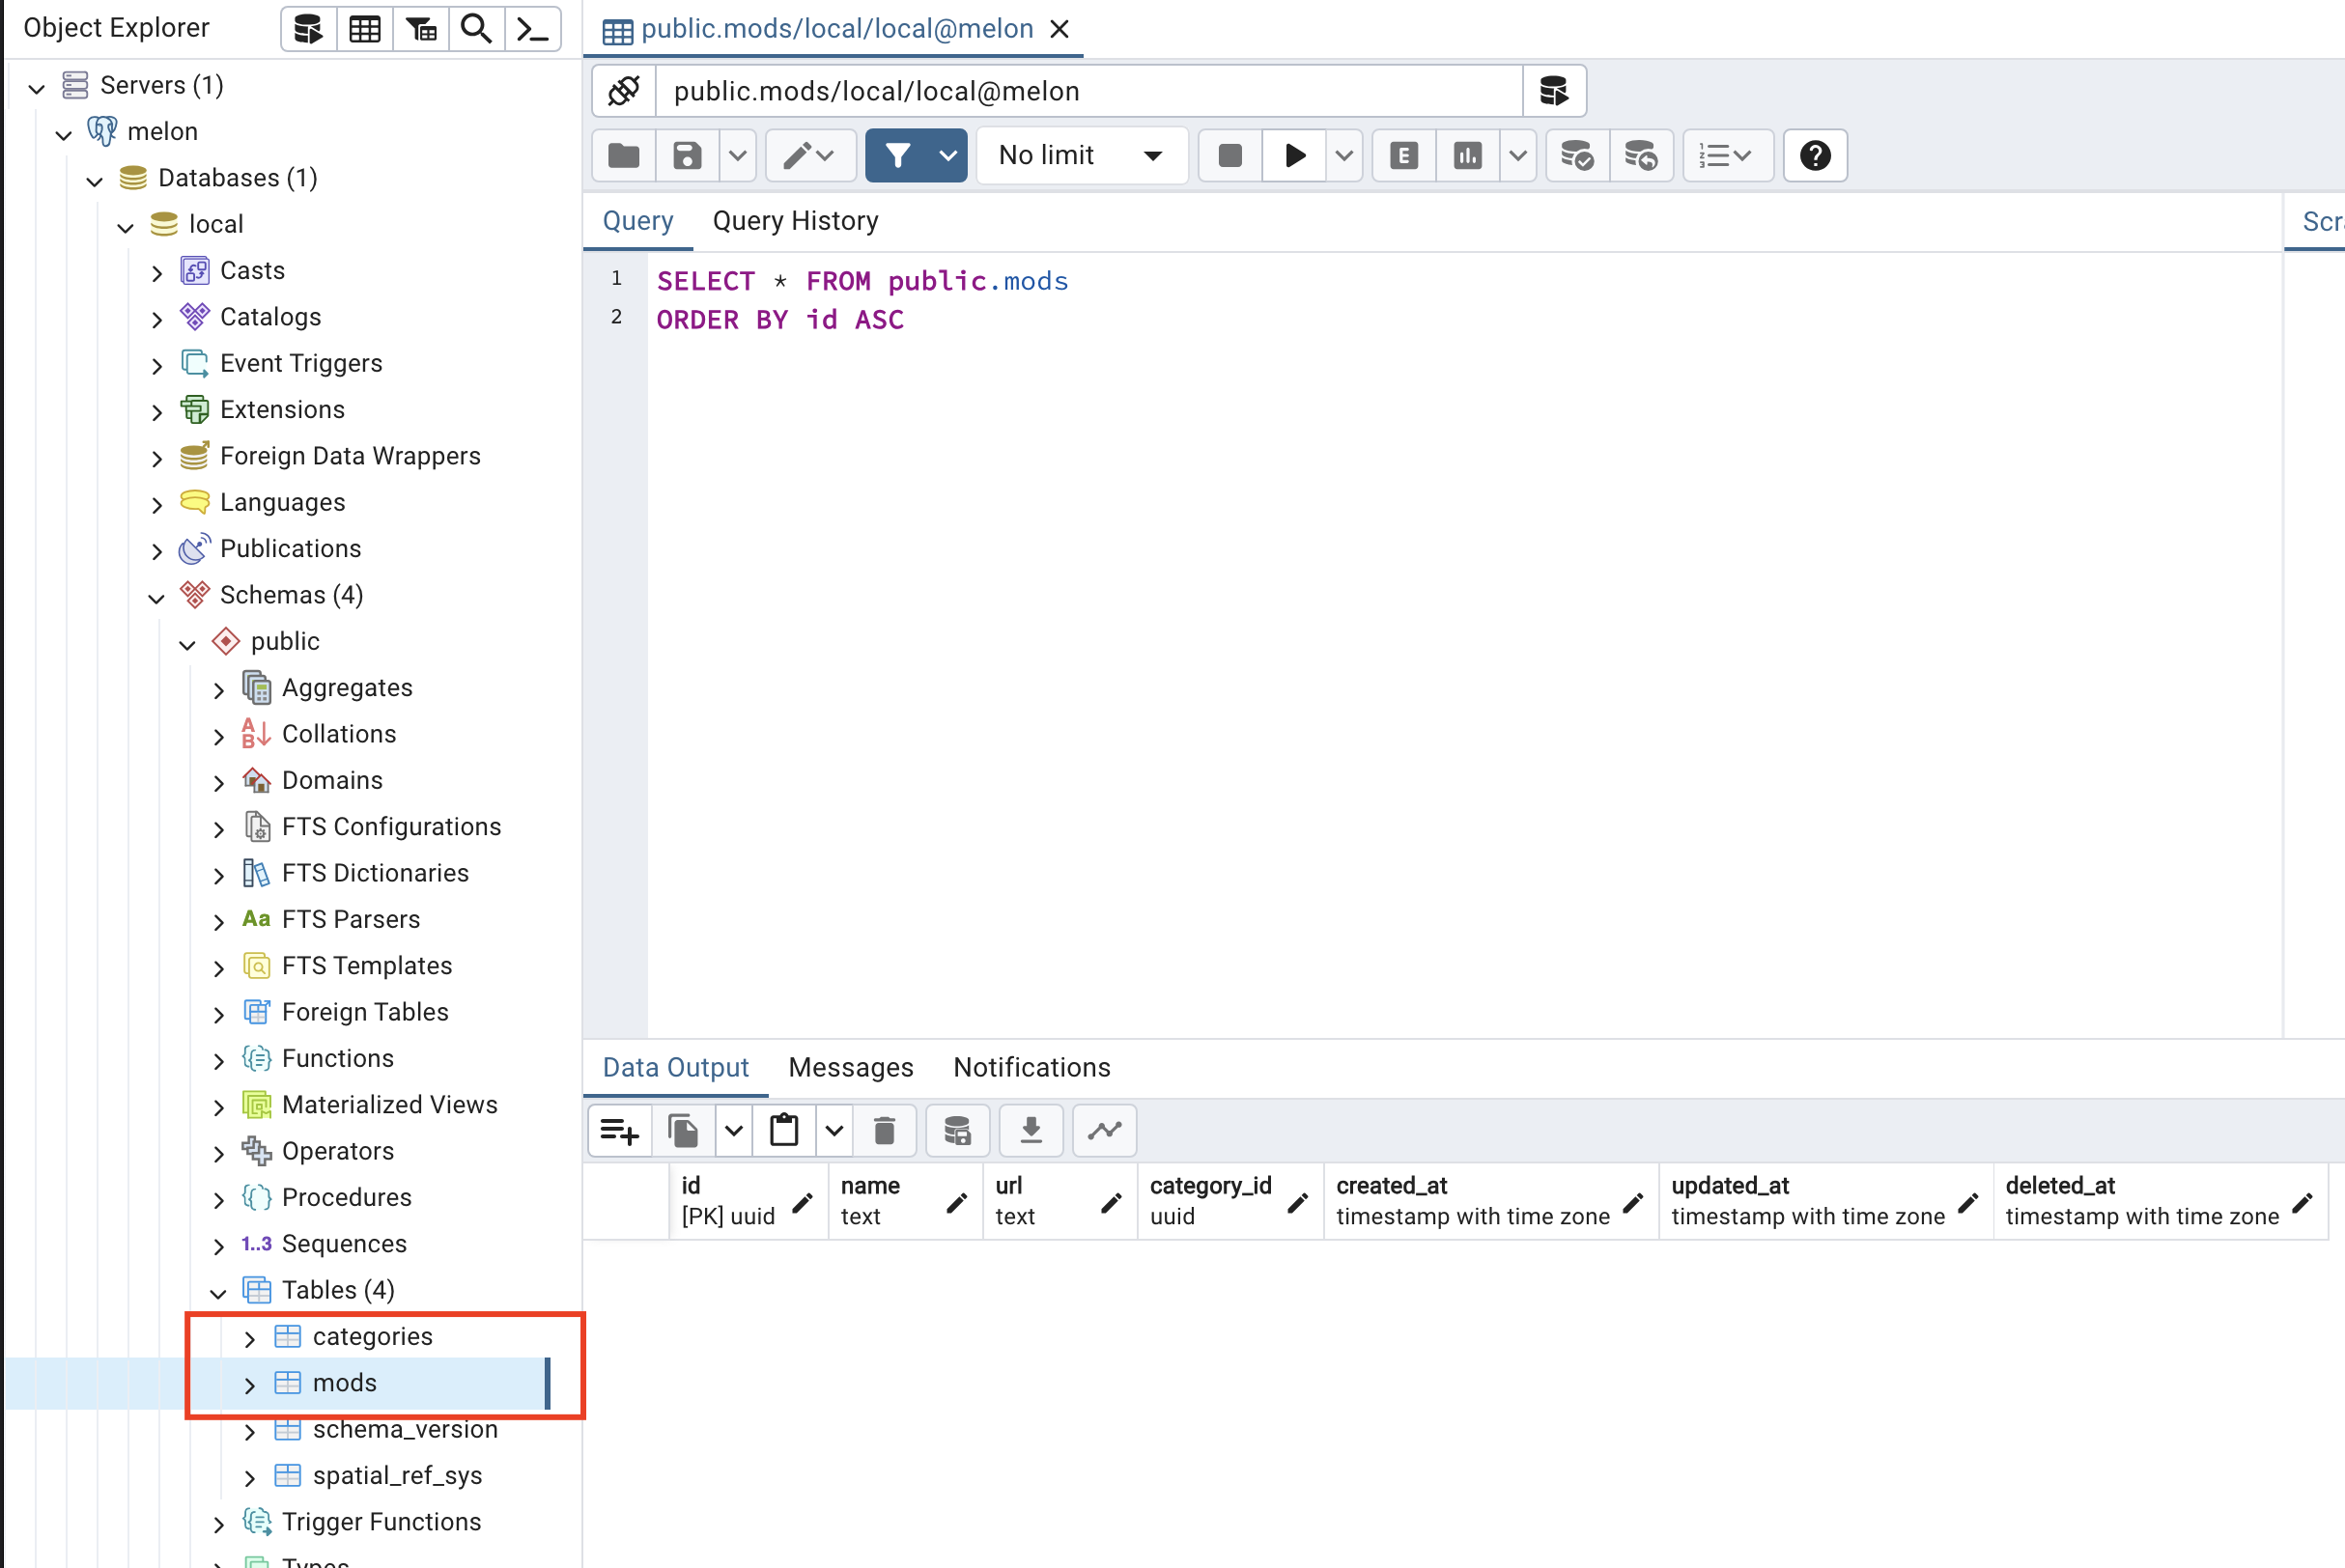
Check again with pgAdmin 4
Open the pgAdmin 4 tool, which is configured in the previous blog. We can see mods and categories tables now.
Conclusion
Integrating Flyway into your Micronaut project provides a robust solution for managing database migrations. With a well-organized SQL migration script structure and externalized configuration, you can confidently evolve your database schema alongside your application. This approach enhances collaboration among developers and simplifies the deployment process, contributing to a more streamlined and efficient development workflow.
Happy coding!